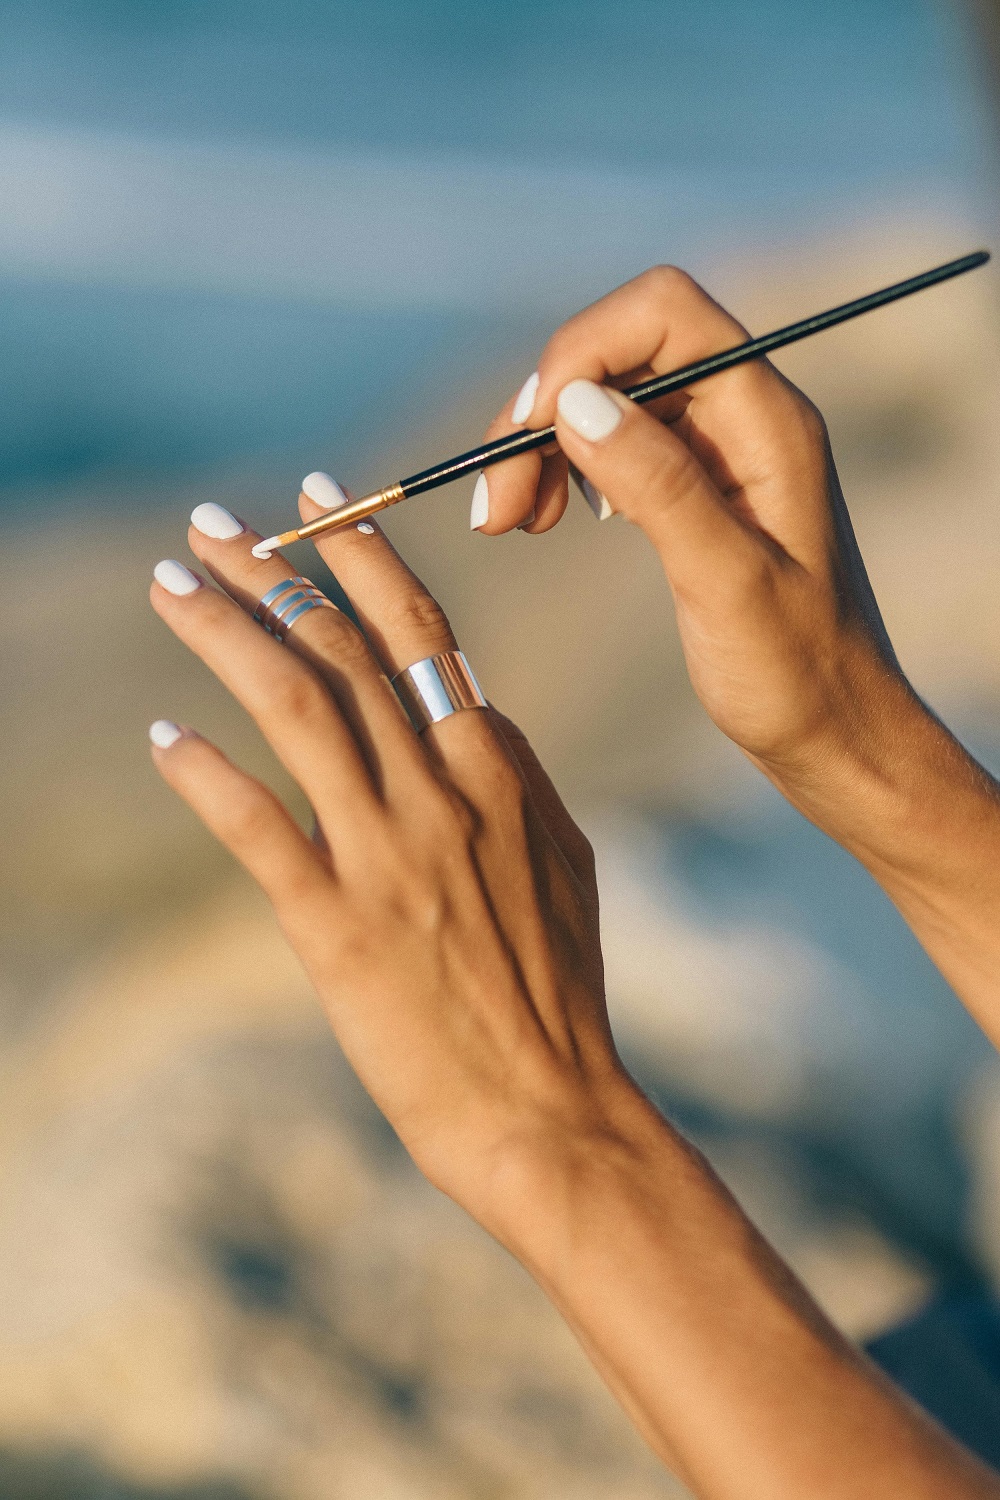
Everyone wants to look their best, and we often go to great lengths to achieve the look that we think achieves that for us. While the face gets most of the attention, which is only natural because its almost always on display, there is another part of the body that is also right in front of you and the people looking at you- your hands!
Using quality creams helps to keep your hands smooth and supple looking, but there is a chance to really have some fun and give your look an upgrade, and that is by having your nails done! Your nails are a wonderful canvas to do some art on to express your creativity. Whether you choose to visit a stylist or do it yourself, there are some tools that are needed to achieve the effects you desire, and the most important of those is the nail brush which, just like a paintbrush on canvas, makes the artistic magic happen! Let’s now take a look at some of the different kinds of nail brushes that are available to help your nails really shine!
Liner Brush – Liner nail art brushes are one of the most versatile brushes in the nail toolbox, they can do a lot of different things. They come in different sizes, the smaller liner brushes are great for drawing designs and putting in intricate details with excellent control. Longer brushes are wonderful for making drawing straight lines easy. If you are on a limited budget then it’s recommended you start with a set of liner brushes, they can do almost anything and are a great basic resource for the beginner.
Oval Brush – These are the best tools for making rough paint strokes, dry brush dabs, feather designs, and other paint-like effects on nails. You will need to clean your bristles well after using them for dry brushing as it tends to make them a bit frizzed out. This is the brush to use if you want to do things like paint leopard spots or tiger stripes on your nails!
Square Brush – The square brush is terrific for making effects like marbling, a technique in which a few different coloured drops of gel polish are dabbed on next to each other to achieve a mottled effect. Want to make a rippled water surface effect? Use your square brush. Be sure to first cover the nail in clear gel then allow the colours to run together before you cure the nail under the lamp.
Angled Brush – Use your angled brush to lay down one-stroke designs. This is a case in which the quality of the brush is a factor, if you are a beginner first learning to create one-stroke designs then using a less expensive brush is all right, but as your skills improve you will find that a high-quality angled brush can make a big difference, and really accentuate your technique!
So, those are the basics, there are still a few more useful brushes and things like dotting tools you may want to invest in as your skills grow, or if you decide to go pro, but you will be able to achieve stunning results with the brushes listed!
